- Description
- Specification
- Files
- Reviews (1)
- Install
- Support
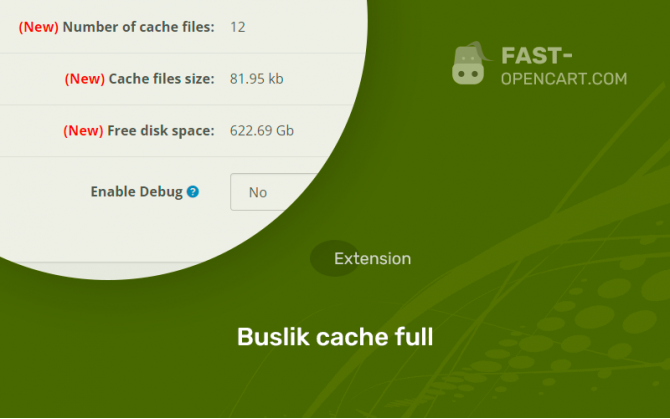
With this module, you will reduce the load on the database, increase Google PageSpeed.
Caching:
- Driver support: APC(u), MemCache(d), Redis, File, Buslik or your own;
- Set an exclusion by page route, or vice versa enable for certain routes (eg product/category), parameter name (eg category_id=10) or keyword (eg category10). When including certain pages, you can set individual time and diversify by config, session, $_POST, $_GET data;
- You can diversify the cache using config, session data, even consisting of arrays;
- Limiting page caching by $_POST, $_GET parameters to avoid filling up the server disk space;
- You can set a limit on the size of the total cache on the server disk space;
- From the module settings, you can clear the cache: html, css, js, images, logs, pwa, update modifiers, clear various reports in the database (product views, user activity, search queries, user basket, session data); - when editing a product, category etc. the full page cache will also be cleared according to id;
- Setting the cache time for pages, controllers, models and the standard OpenCart cache;
- Cache pages in 2 passes, first cache models, then the entire page;
- You can pre-generate the cache in bulk according to the restrictions parameters and other settings for this functionality.
How do Google PageSpeed scores increase?
- Set exceptions by page route, or vice versa enable for certain routes (eg product/category), parameter names (eg category_id=10) or keyword (eg category10).
- Loading="lazy" images, window frame, video, audio, html code modules;
- You can specify width and height attributes for all images;
- You can compress styles, scripts and html page;
- You can download third-party styles and scripts to your site;
- Specifying an exception to the compression of styles and scripts;
- Replacing data for pages, styles, scripts;
- Own attributes for styles and scripts;
- Preloading fonts, images, video files, styles or scripts;
- You can set inline styles and scripts at the top, bottom, in a separate file, defer loading by event and timer;
- Specify important styles and scripts for primary loading.
- Compatibility:
Opencart 2.0, Opencart 2.1, Opencart 2.2, Opencart 2.3, Opencart 3.0, Opencart Pro 2.1, Opencart Pro 2.3, OcStore 2.1, OcStore 2.3, OcStore 3.0
- Distribution:
Paid
- Ocmod:
Yes
- VQmod:
No
Extension files Buslik cache full can be downloaded after payments on the main page of the personal account or in the tab "Files".
There are 2 types of installation: "Installing extensions", if the module file is an archive with the ending in the name ocmod.zip или "Via FTP (file manager)" when it is a simple archive with files.
Install via Ocmod
- Download module file. Paid add-ons can be downloaded in your account only after payment.
- In your site's admin panel go to "Extensions" -> "Install extensions", or "Modules" -> "Install modifiers" and click the button "Load";
- Select the downloaded file and click "Continue", wait for the inscription - "Successfully installed";
- Then go to "Add-ons Manager" or "Modifiers" and press "Update" button " (blue, top right). And also grant administrator rights for the module (see below how to do this).
Install via FTP
- Download module file. Paid add-ons can be downloaded in your account only after payment;
- Upload files through the file manager to the root of the site. As a rule, the archive contains files for different versions of PHP and OC version (you need to choose your option correctly);
- Then go to "Add-on Manager" or "Modifiers" and click "Update " (blue button, top right). And also grant administrator rights for the module (see below how to do this).
After installing any module, go to the "System" -> "User Groups" -> "Administrator" section, uncheck all the checkboxes and put them back by clicking on the "Select all" button in the view fields and changes.
Join our Telegram group!
Our community of experienced and casual users will help you solve any problems :)
Go to chat


