- Description
- Specification
- Files
- Reviews (2)
- Install
- Support
This module uploads photos to products bypassing the file manager, which greatly simplifies the process of adding images to products.
For a good conversion, you need high-quality product photos, in an amount of at least 5 pieces.
Capabilities
- Multi-upload photos in 1-2 clicks directly from the memory of your device;
- Very convenient and clear interface - Photo selection/drag and drop field, main image field, additional photo field and cart field;
- Ability to download by dragging to the browser Drad&Drop;
- It is possible to assign a download folder. And the final photos are loaded into a folder with the product id - which is very convenient and logical. The files are located at image/catalog/easyphoto/123/… Where easyphoto is a folder that can be configured for uploading, 123 is the product id, all pictures are placed in this folder;
- Automatic SEO photo title - transliteration from the product name. The language can be selected in the settings. For example, the product Canon-ip2900 printer will have the names printer-canon-ip-2900-1.jpg, printer-canon-ip-2900-2.jpg, printer-canon-ip-2900-3.jpg, which is very useful for SEO . All special characters and extra characters are cut off. In version 3.0, there is a complete cleaning of unnecessary. Of course, this can be customized, but it would be better if the name were from the name of the product;
- It is possible to specify a separator between the photo name and serial number;
- You can select any field in the product from which the image title will be generated;
- Assigning the main photo is a simple drag and drop of the mouse. We uploaded all the photos - dragged one of them to the main one and everything is ready;
- If you set up auto-selection of the first photo from all uploaded ones, the main photo will be assigned automatically;
- It is possible to add photos from previously uploaded ones;
- Sort uploaded photos by dragging the mouse;
- Also in the new version there was a basket. This essential tool makes it easier to work with product photos. When you have loaded all the pictures, selected the main one, sorted, rotated, etc. and some photos turned out to be unnecessary - you just drag them to the basket. The file still remains on the server, but is not linked to the product. And from the basket it can be restored or deleted forever. There is, of course, a tool for completely emptying the trash;
- When you hover over the image, you can enlarge the photo new! change to another and also rotate clockwise or counterclockwise. When scrolling, the original remains and can be returned to the site. Everything is very comfortable and well thought out. In the basket, you can delete the photo from the server forever;
- The module creates its own tab in the product editing form, where the interface for working with photos is located.
Functions
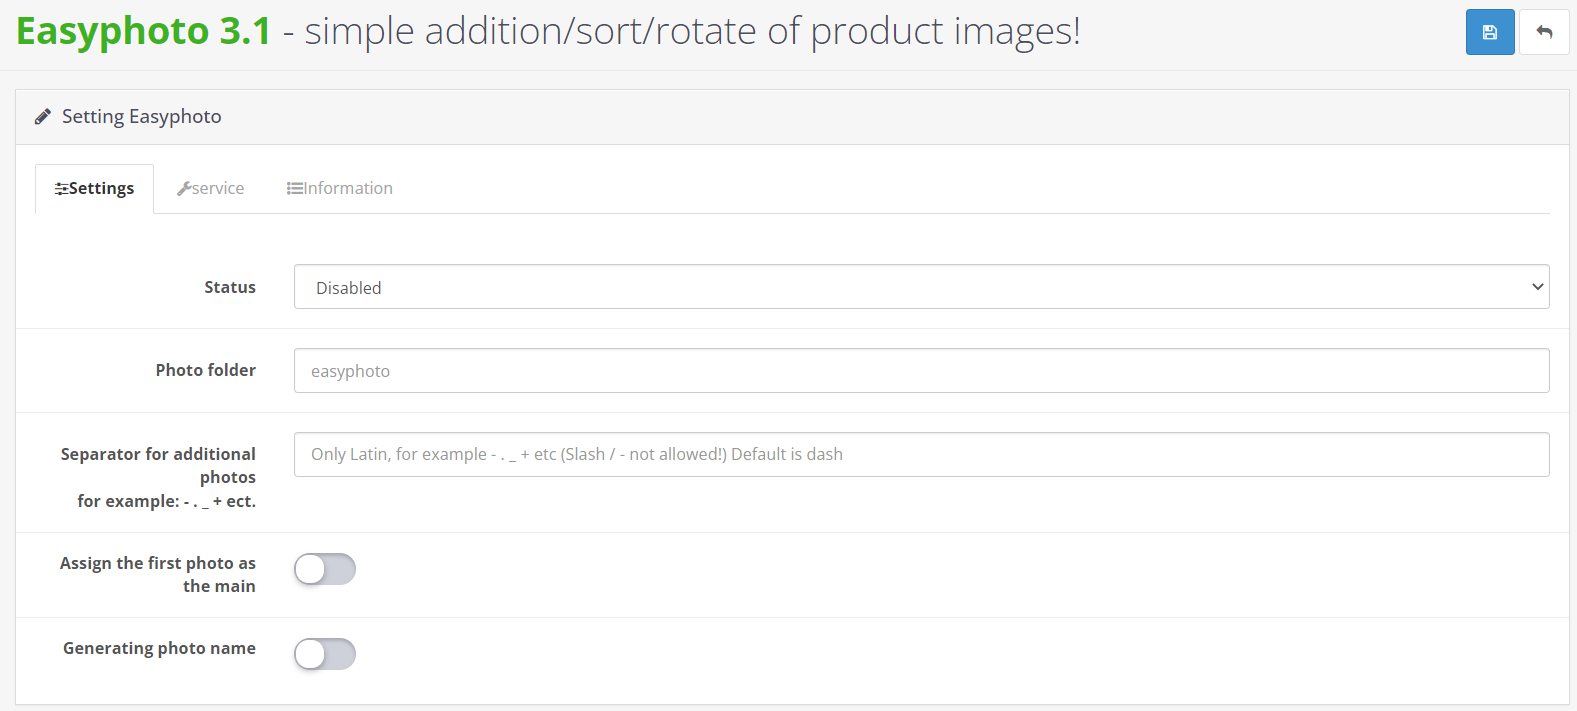
- Status - the actual status of the module. If the module is installed, but disabled, when editing a product, there will still be an Easyphoto tab, but a notification will be displayed that it must be enabled for the module to work. At the same time, the Images tab remains and photos can be added in the standard way;
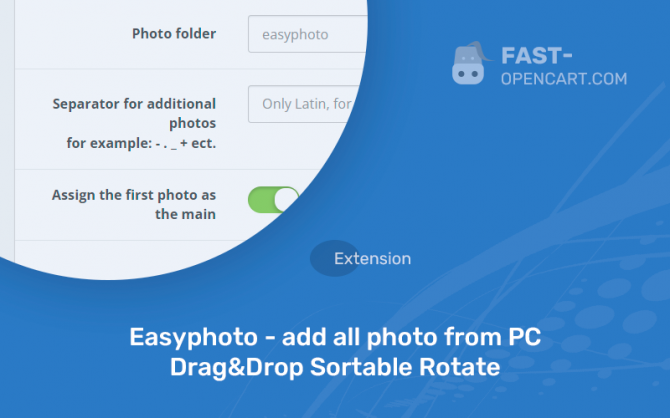
- Folder for photos - the name of the folder where the photos will be uploaded. A mandatory requirement will be the name in Latin, for example (easyphoto, photo, product_photo) without slashes, spaces and other superfluous things and in lower case. By default, if not configured, the folder will be easyphoto. Please note that the final photo folder will be image/catalog/easyphoto/3634/. Where easyphoto is a folder, 3634 is the id of the product in it and there will already be photos;
- The separator for a photo is a symbol that separates the name of the image and its serial number;
- Set the first photo as the main one - the setting allows you to automatically select the first photo as the main one. This is very convenient. the system automatically inserts the main image, and each time there is no need to select it. Although to select the main thing, just hover over the photo and click on the green checkmark;
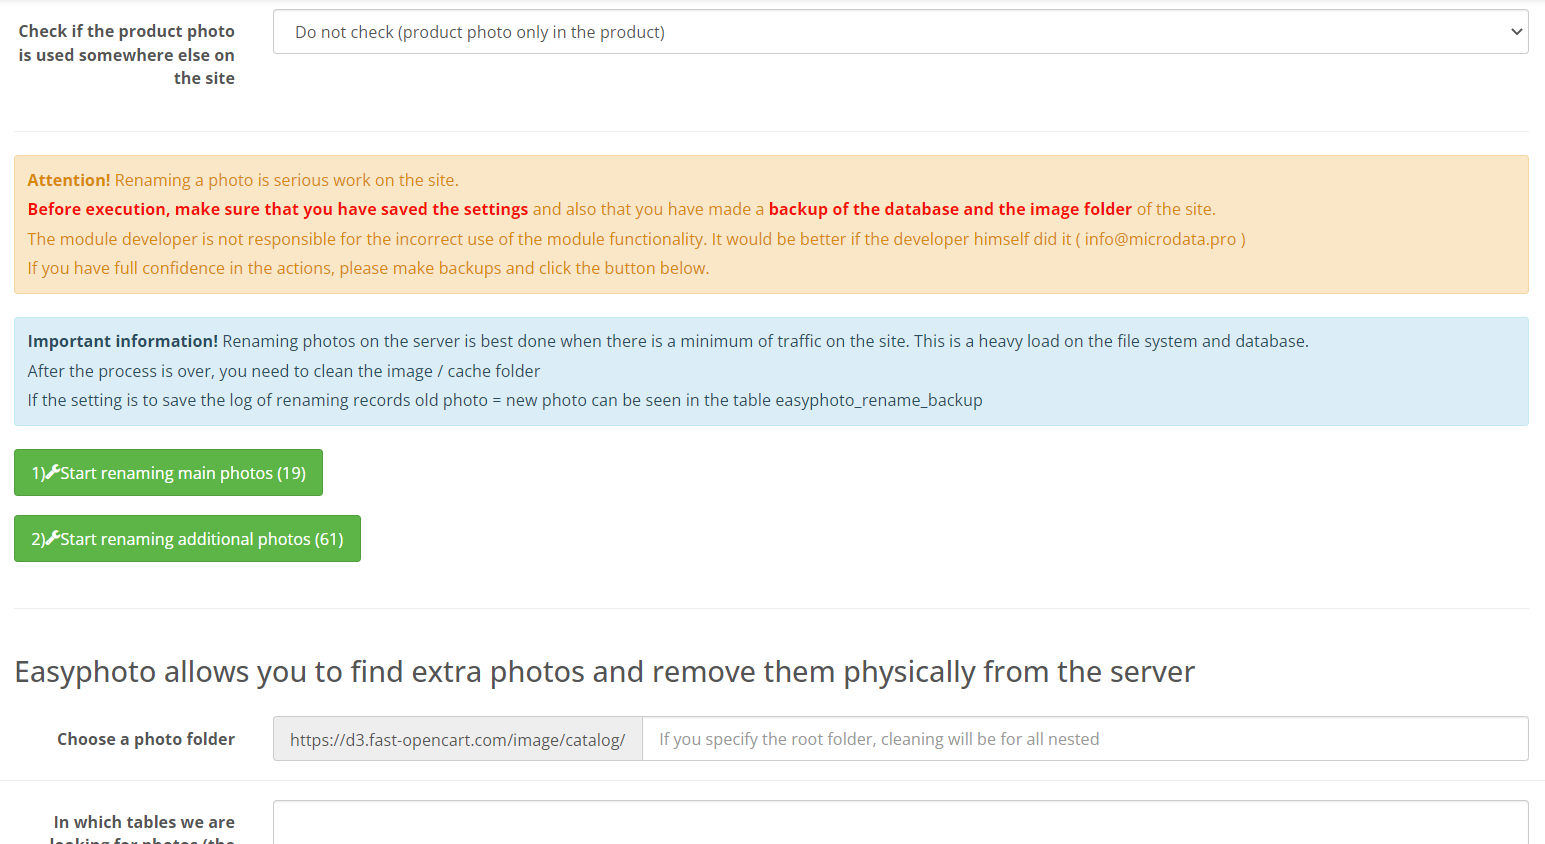
- Photo title from product name - automatic renaming of the photo into the product name. This is very helpful for SEO. Google recommends that you set the name to be meaningful, that is, to match the contents of the file. For example, if you check this box, the images for the product will be in the format nazvanie_tovara.1.jpg, nazvanie_tovara.2.jpg, nazvanie_tovara.3.jpg, etc. Of course, all extra characters in the product name will be cleared. It is recommended to enable this option. For new products, the module also understands where to get the name;
- Name from . This setting allows you to choose which field to take text from to generate a photo title. You can put the name, article, mpn, etc.;
- Photo title language - if you have a multilingual store, you can choose from which language to take the title for images. By default, it is taken from the language with id = 1.
- Compatibility:
Opencart 2.0, Opencart 2.1, Opencart 2.2, Opencart 2.3, Opencart 3.0, Opencart Pro 2.1, Opencart Pro 2.3, OcStore 2.1, OcStore 2.3, OcStore 3.0
- Distribution:
Paid
- Ocmod:
Yes
- VQmod:
No
Extension files Easyphoto - add all photo from PC Drag&Drop Sortable Rotate can be downloaded after payments on the main page of the personal account or in the tab "Files".
There are 2 types of installation: "Installing extensions", if the module file is an archive with the ending in the name ocmod.zip или "Via FTP (file manager)" when it is a simple archive with files.
Install via Ocmod
- Download module file. Paid add-ons can be downloaded in your account only after payment.
- In your site's admin panel go to "Extensions" -> "Install extensions", or "Modules" -> "Install modifiers" and click the button "Load";
- Select the downloaded file and click "Continue", wait for the inscription - "Successfully installed";
- Then go to "Add-ons Manager" or "Modifiers" and press "Update" button " (blue, top right). And also grant administrator rights for the module (see below how to do this).
Install via FTP
- Download module file. Paid add-ons can be downloaded in your account only after payment;
- Upload files through the file manager to the root of the site. As a rule, the archive contains files for different versions of PHP and OC version (you need to choose your option correctly);
- Then go to "Add-on Manager" or "Modifiers" and click "Update " (blue button, top right). And also grant administrator rights for the module (see below how to do this).
After installing any module, go to the "System" -> "User Groups" -> "Administrator" section, uncheck all the checkboxes and put them back by clicking on the "Select all" button in the view fields and changes.
Join our Telegram group!
Our community of experienced and casual users will help you solve any problems :)
Go to chat
