- Description
- Specification
- Files
- Reviews (0)
- Install
- Support
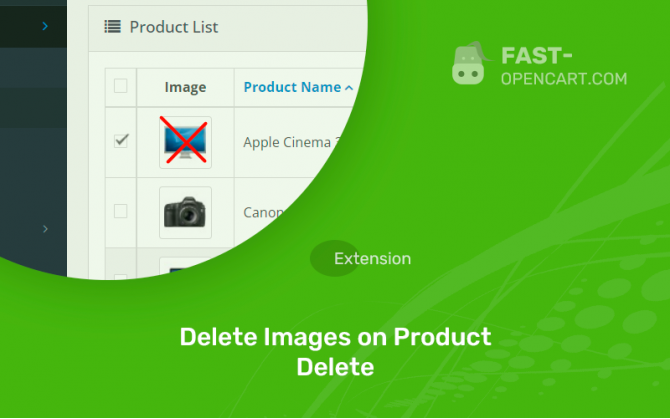
A very useful module for optimizing the weight of your site! By default, in CMS Opencart, when deleting a product, all images attached to it are not deleted, but remain further in order to load your hosting. Luckily this can be fixed :)
After installing the modifier, all photos of the product will be deleted from FTP along with the removal of the product.
Protection against unwanted deletion
There is a mandatory check before deletion . If the images from the product you are deleting are used not only in it, but also in some other product, then the pictures will not be deleted!
And an important point, those images that are directly in the description (some online stores fill out product descriptions in this way), these photos will not be verified. The module is relevant only for locked photos in the "normal" way.
- Compatibility:
Opencart 2.3, Opencart 3.0, Opencart Pro 2.3, OcStore 2.3, OcStore 3.0
- Distribution:
Free
- Ocmod:
Yes
- VQmod:
No
There are 2 types of installation: "Installing extensions", if the module file is an archive with the ending in the name ocmod.zip или "Via FTP (file manager)" when it is a simple archive with files.
Install via Ocmod
- Download module file. Paid add-ons can be downloaded in your account only after payment.
- In your site's admin panel go to "Extensions" -> "Install extensions", or "Modules" -> "Install modifiers" and click the button "Load";
- Select the downloaded file and click "Continue", wait for the inscription - "Successfully installed";
- Then go to "Add-ons Manager" or "Modifiers" and press "Update" button " (blue, top right). And also grant administrator rights for the module (see below how to do this).
Install via FTP
- Download module file. Paid add-ons can be downloaded in your account only after payment;
- Upload files through the file manager to the root of the site. As a rule, the archive contains files for different versions of PHP and OC version (you need to choose your option correctly);
- Then go to "Add-on Manager" or "Modifiers" and click "Update " (blue button, top right). And also grant administrator rights for the module (see below how to do this).
After installing any module, go to the "System" -> "User Groups" -> "Administrator" section, uncheck all the checkboxes and put them back by clicking on the "Select all" button in the view fields and changes.
Join our Telegram group!
Our community of experienced and casual users will help you solve any problems :)
Go to chat
